Revamp Your Space: How to Clean Up After Renovation
Renovating your home can be an exciting and rewarding experience, but the post-renovation clean-up can be overwhelming. It’s essential to clean up after a renovation to ensure your home is safe and comfortable to live in. The renovation process can produce a lot of dust, debris, and other materials that need to be removed. In this article, we’ll provide you with some tips on how to clean up after a renovation.

The first step in cleaning up after a renovation is to remove any debris or large items that were left behind. This might include old cabinets, flooring, or other materials that were removed during the renovation. Once you’ve removed all the debris, it’s time to start deep-cleaning your home. This will involve cleaning every surface of your home, including walls, floors, and ceilings.
Key Takeaways
- Remove any debris or large items left behind after the renovation.
- Deep-clean every surface of your home, including walls, floors, and ceilings.
- Consider hiring professional cleaners to ensure your home is thoroughly cleaned.
Initial Clean-Up Strategies

Congratulations, your renovation is complete! Now it’s time to get your home sparkling clean again. Here are some initial clean-up strategies to get you started.
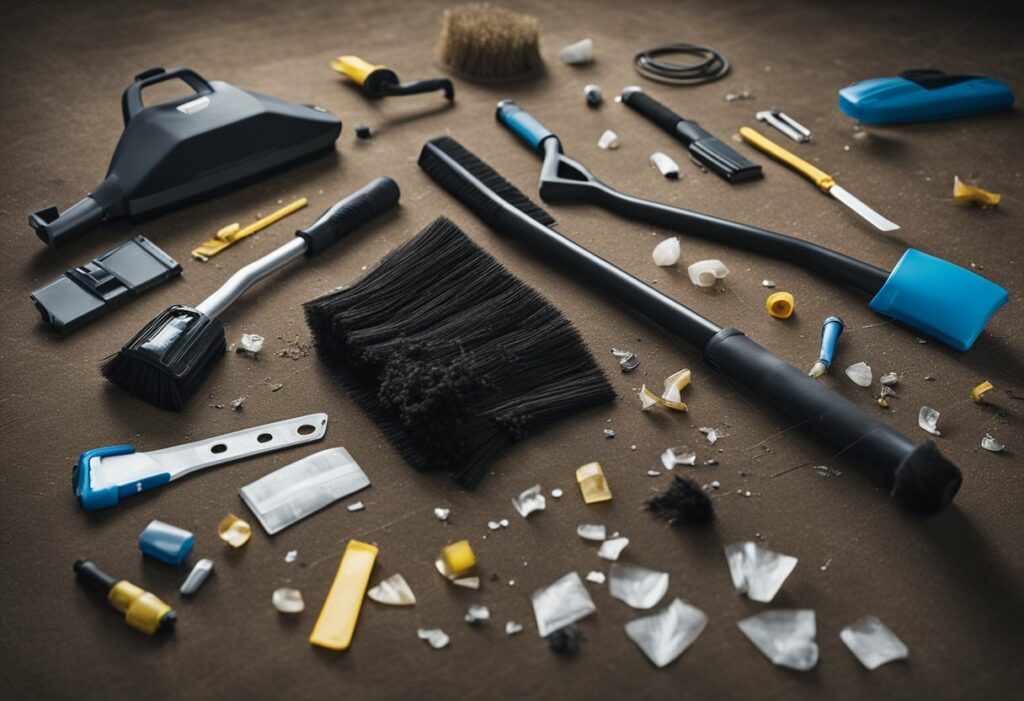
Clearing Debris and Dust
The first step in cleaning up after a renovation is to clear away any debris and dust. Use a broom and dustpan to sweep up larger debris, such as pieces of drywall or wood, and dispose of them in the trash. Next, use a vacuum cleaner to remove dust and smaller debris from floors, walls, and ceilings. Be sure to use the appropriate attachment for each surface to avoid damaging it.
Tackling Floors and Surfaces
Once you’ve cleared away the debris and dust, it’s time to tackle the floors and surfaces. Start by wiping down all surfaces, including countertops, cabinets, and appliances, with a damp or microfiber cloth. For floors, use a mop and cleaning solution to remove any dirt or grime. Be sure to follow the manufacturer’s instructions for any cleaning supplies you use.
Freshening Walls and Ceilings
After the floors and surfaces are clean, it’s time to freshen up the walls and ceilings. Use a microfiber cloth or duster to remove any remaining dust or cobwebs. For more stubborn stains, use a cleaning solution and a soft-bristled brush to gently scrub the affected area. Be sure to test the solution on a small, inconspicuous area first to ensure it won’t damage the paint or wallpaper.
By following these initial clean-up strategies, you’ll be well on your way to a clean and fresh home after your renovation.
Deep-Cleaning Post-Renovation

Congratulations on completing your renovation! Your home is now looking amazing, but before you can fully enjoy it, you need to deep clean it. A post-renovation deep clean is essential to get rid of all the dust, debris, and construction residue that may have accumulated during the renovation process.
Focus on Bathrooms and Kitchens
Bathrooms and kitchens are the most used rooms in the house, and they require special attention during a post-renovation deep clean. Start by cleaning the fixtures, such as the sink, toilet, and showerhead. Use a cleaning solution and a disinfectant to make sure everything is clean and germ-free. Don’t forget to clean the cabinets and drawers, both inside and out. Wipe down the counters and the backsplash, and clean the appliances, such as the oven, fridge, and dishwasher.
Finishing Touches for a Sparkling Home
Once you have cleaned the bathrooms and kitchens, it’s time to move on to the rest of the house. Start by cleaning the windows, both inside and out. Use a cleaning solution and a squeegee to get a streak-free finish. Wipe down all the surfaces, including the furniture, baseboards, and light fixtures. Don’t forget to clean the mirrors, and make sure they are free of streaks. Finally, vacuum and mop the floors to get rid of any remaining dust and debris.
While you can do the post-renovation cleaning yourself, it may be worth considering professional cleaning services. Professional cleaners have the expertise, cleaning solutions, and cleaning tools to get your home sparkling clean in no time. They can also save you time and effort, so you can focus on enjoying your newly renovated home.
In conclusion, deep-cleaning post-renovation is an essential step to make your home look and feel new again. By following the tips outlined above, you can ensure that your home is sparkling clean and ready to be enjoyed.
Frequently Asked Questions

What’s the best way to tackle deep cleaning post-renovation?
Deep cleaning after a renovation project can be quite overwhelming, but it’s essential to ensure your home is sparkling clean and free from dust and debris. The best way to tackle deep cleaning is to start from the top and work your way down. Begin by dusting the ceilings, walls, and light fixtures, followed by cleaning the windows, doors, and skirting boards. Then, move on to cleaning the floors, carpets, and furniture. Don’t forget to sanitize the kitchen and bathroom thoroughly.
Could you suggest a comprehensive checklist for cleaning after a refurbishment?
Yes, we can! A comprehensive cleaning checklist after a refurbishment should include the following tasks:
- Removing debris
- Dusting
- Vacuuming
- Mopping
- Cleaning windows and doors
- Cleaning light fixtures and ceiling fans
- Sanitizing the kitchen and bathroom
- Cleaning appliances
- Laundering curtains, cushions, and other soft furnishings
- Disinfecting surfaces
- Purifying the air
What are the top tips for removing dust from a home following an upgrade?
Dust is a common problem after a renovation project, and it can be challenging to get rid of it completely. Here are some tips to help you remove dust from your home:
- Use a vacuum cleaner with a HEPA filter to pick up dust from carpets, floors, and furniture.
- Wipe surfaces with a damp cloth to prevent dust from spreading.
- Use an air purifier to remove dust particles from the air.
- Change your HVAC filter to prevent dust from circulating in your home.
- Consider hiring a professional cleaning service to deep clean your home after a renovation.
How soon should one initiate the cleaning process after a renovation project?
It’s best to initiate the cleaning process as soon as possible after a renovation project. The longer you wait, the more difficult it will be to remove dust and debris from your home. Ideally, you should start cleaning the same day the renovation is completed. This will help prevent dust from settling and make the cleaning process much easier.
What are the most effective methods to purify the air post-renovation?
Renovation projects can release harmful chemicals and pollutants into the air, which can be harmful to your health. Here are some effective methods to purify the air post-renovation:
- Use an air purifier with a HEPA filter to remove dust, allergens, and other pollutants from the air.
- Open windows and doors to allow fresh air to circulate in your home.
- Use natural air purifiers like plants to absorb toxins and pollutants from the air.
- Avoid using chemical cleaning products that can release harmful fumes into the air.
How can I efficiently clear out sawdust after doing up my home?
Sawdust can be a real pain to clean up after a renovation project. Here are some tips to help you efficiently clear out sawdust from your home:
- Use a vacuum cleaner with a HEPA filter to pick up sawdust from carpets, floors, and furniture.
- Wipe surfaces with a damp cloth to prevent sawdust from spreading.
- Use a broom and dustpan to sweep up sawdust from hard surfaces.
- Consider using a shop vac to suck up sawdust from hard-to-reach areas.